How To Bypass The Primer Bulb On The Weed Eater?
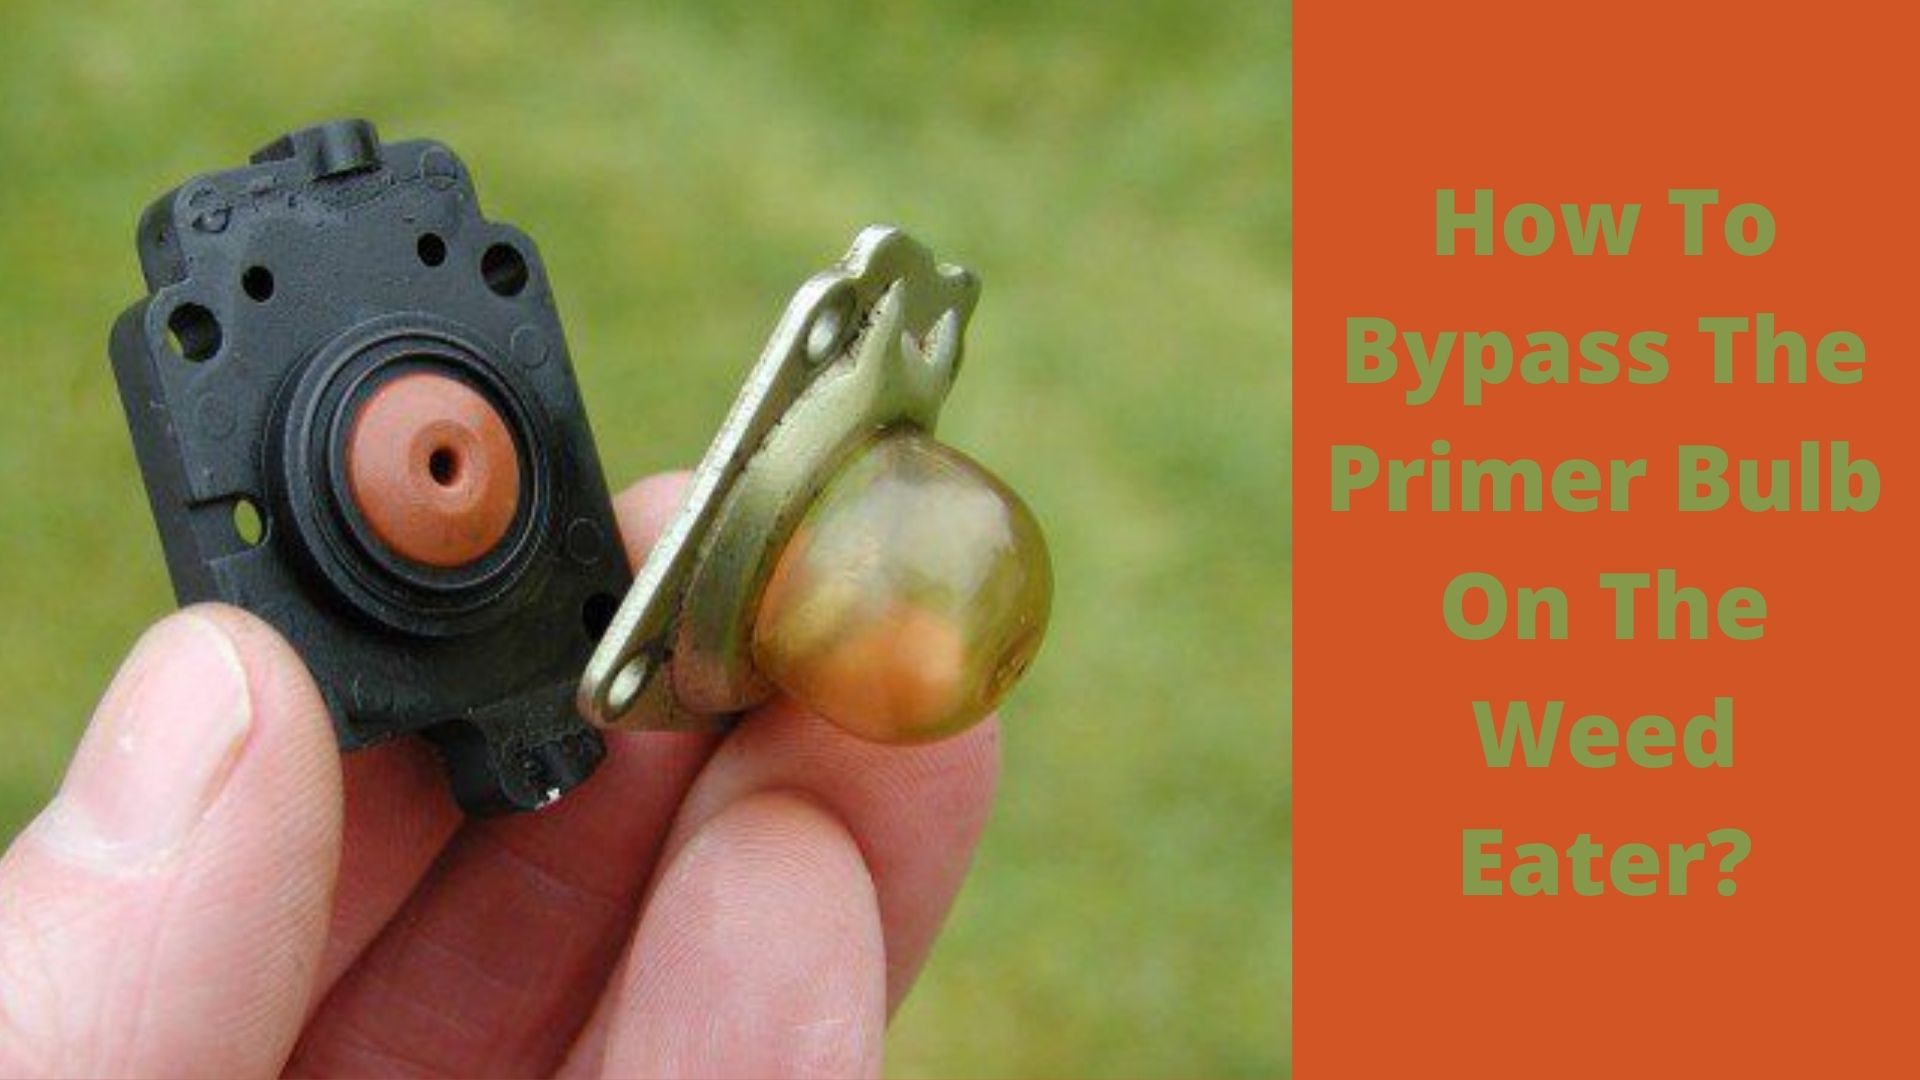
If the primer bulb of your weed eater is broken, it can be frustrating for you. So when you have piles of leaves in your stock for cutting, it is not good for you. Moreover, a weed eater is a necessary tool for you in the case piles of leaves are to be cut. But if your weed eater does not have the primer bulb, it is not useful for you at all. Hence, you need to learn how to bypass the primer bulb on the weed eater. In this article, we tell you how to bypass the primer bulb on the weed eater.

Broken Primer Bulb
What is Weed Eater Primer Bulb?
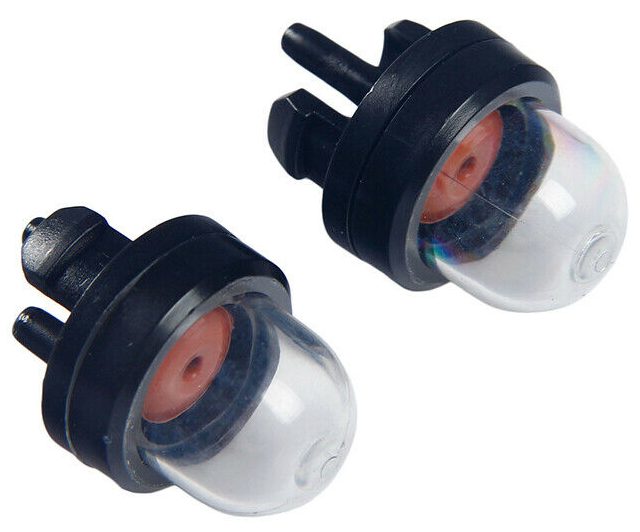
When you want to cut the grass in the garden, you require to press the small button. It will prime the engine. So this small button is called a primer bulb. It starts the engine by pulling enough in the carburetor. You can find this button next to the carburetor. It also refers to air bulbs.
Moreover, the weed eater primer bulb is a button that starts the engine of the weed eater. This bulb collects and passes fuel to the carburetor. Hence, it primes the carburetor to start the engine of the weed eater. This button is made of rubber. Without pressing it, you cannot start up your weed eater.
A Primer Bulb On The Weed Eater
Different Types of The Weed Eater Primer Bulb
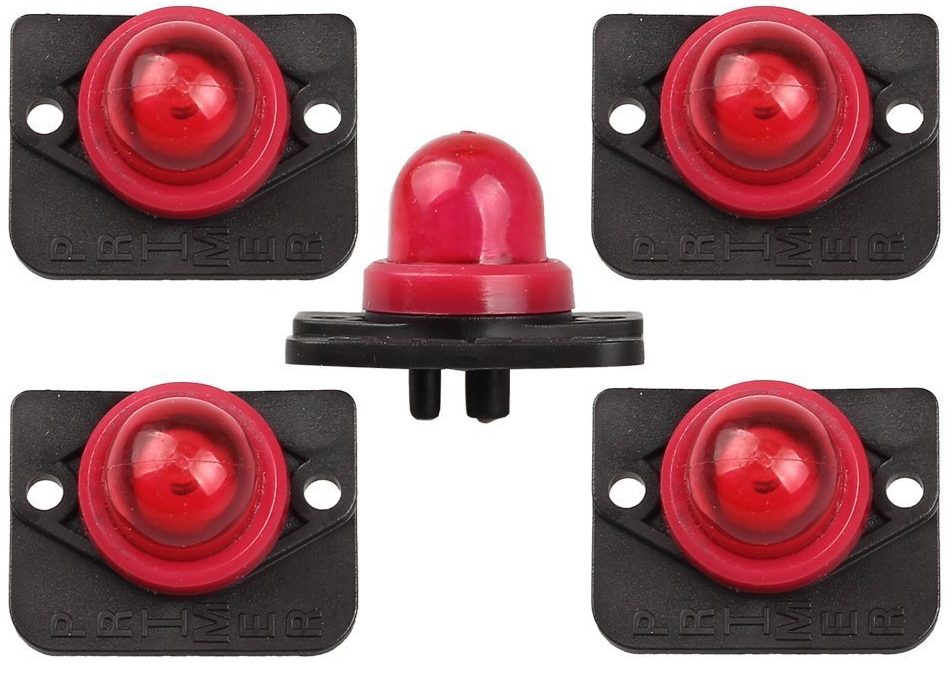
All the weed eater primer bulbs indeed function the same. But there are different types since the sizes, methods, and materials are different. Hence, there are three different types of weed eater primer bulbs:
- Rubber made primer bulb
- PA6 or special rubber primer bulb
- TPU made primer bulb
Rubber Made Primer Bulb
Most primer bulbs are made up of rubber. You can easily find the primer bulbs that are made up of rubber. Further, they are of the best quality. Clear and colorful bulbs of rubber are referred to as primer bulbs made of rubber. They are 18.5 millimeters in their diameter.
Rubber Primer Bulb
PA6 Or Special Rubber Primer Bulb
Primer bulbs of PA6 or Nylon 6 are long-lasting and durable. But you need to use them properly for a long time. Moreover, bulbs of Nylon 6 used for the diesel equipment are known as Primer bulbs made of PA6. The diameter for such primer bulbs is 27 millimeters.
TPU Made Primer Bulb
These primer bulbs are useful not only for weed eaters but also for chainsaws. They are appropriate for collecting fuel oil. Further, bulbs of thermoplastic elastomers are called primer bulbs made of TPU. Their diameter is normally 18.5 millimeters.
The Things That You Require to Bypass the Primer Bulb On The Weed Eater
The things that are required to bypass the primer bulb are easily available. But make sure that all the required materials are there on the spot. It will make the entire process easy. You need the following things to bypass the primer bulb:
Polythene
You require polythene to create a ball-like structure by putting it under the metal plate.
Screwdriver
You require a screwdriver to hold the metal pieces of the primer bulb. Henceforth, these two things will help you to complete the process.
Steps to Bypass Primer Bulb On The Weed Eater
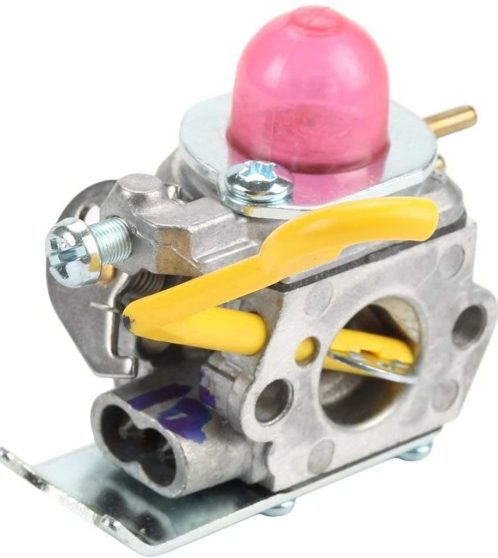
The primer bulb is an air bulb on a weed eater that starts the engine by forcing gasoline into the carburetor. When you switch on this primer bulb, it sprays a fine mist of gasoline with some air to start the weed eater. Moreover, if you use the plastic primer bulbs for a long time, they break or normally crack after some time.
For repairing it, you require another primer bulb for replacement. But if another primer bulb is not available at the moment, what you can do. You need to follow these guidelines. Therefore, follow these steps to bypass the primer bulb on the weed eater:
Removing The Screws
First, you require to remove the screws. You will see that there are two screws on both sides of the primer bulb. So using a screwdriver, remove these two screws from the metal plate. In addition, there can be different types of screws depending on the various brands, such as flat-head or Philips head screws. So when you remove the screws, keep them aside. Hence, you will not lose them.
Pull The Bulb And Metal Plate Away
In the next step, you need to pull away from the air bulb and metal plate. Pull the metal plate upward and remove this plate around the primer bulb. Pick the previously used primer bulb and pull it straight upward. But in case if you find that the primer bulb or metal plate is stuck, use needle-nose pliers. It will help you to remove them.
Cleaning Dust At The Primer Bulb Seat
Over time, some debris and dust pile up at the primer bulb seat on the weed eater. So if dust enters into the carburetor, it will affect the entire internal process of the weed eater. Hence, clean the dust and debris from the air bulb seat.
Putting The Polythene Inside
Now, you require to put the polythene under the metal plate near the primer bulb. Then push the polythene outside from the hole with your finger. Hence, you will make a ball of polythene. It will function as an air bulb.
Screwing The Metal Plate
Then you require to screw the metal plate back on using two screws. Fit two screws tightly into their place. But you need to make sure that the screws are tight and not let any air from outside get into the polythene ball.
Pressing The Polythene Ball
In the final step, you require to press the polythene ball few times. When you screw it tightly, the gas piles up inside the polythene ball, so keep pressing the small polythene ball. Keep doing this process until you see bubbles in the carburetor line. When bubbles appear in the carburetor line, your weed eater is ready to start up. Hence, start your weed eater now. Further, there is a possibility that you will have to run it for few attempts.
What Are The Tips For Using Weed Eater Primer Bulb Correctly?
Following are some tips for using the weed eater primer bulb correctly:
Avoid Unnecessary Pressure
Usually, the primer bulb starts running after pressing it two times. But if the primer bulb does not start after two attempts, do not put extra pressure. Rather try to find out any defect on the weed eater.
Try to Keep The Air Bulb Clean
Primer bulbs need cleanliness to work efficiently like other equipment. So if you find any dust and debris on the primer bulb, clean it immediately.
Primer Bulb On The Weed Eater
Reducing Corrosion
Indeed, you cannot avoid corrosion for the equipment. But you should be careful to avoid overuse of the primer bulb.
Replacing The Damaged Primer Bulb
If you find that the primer bulb is a damaged one, replace this damaged bulb with a new one. It is not a costly process. Moreover, this replacement will not take much time.
Summary
If you find that your weed eater does not work due to a broken primer bulb, do not worry. You can apply the suggested methods in this article to bypass the primer bulb on the weed eater. It is not as difficult as to thaw frozen pipes underground. Moreover, there can be different types of primer bulbs. But primer bulbs made of plastic are of the best quality usually. Further, follow the tips to use the primer bulb correctly. Clean the air bulb when it gets dirty. Do not put too much pressure and replace the damaged air bulb easily with a new one. In short, you can bypass the primer bulb using only two materials.
-
 Informative3 years ago
21 Amazing Fruits That Are Not Round
-
 Science3 years ago
How To Make a Dry Ice Bomb at Home? Risks and Precautions
-
 How to3 years ago
How to Put a Tampon On: Step by Step Guide
-
 How to3 years ago
Here’s How to Know When The Oil Cartridge Is Empty
-
 Informative3 years ago
Elf Ear Surgery: Cost, Procedure, and Risks
-

 How to3 years ago
Fixed: The Torrent You Are Trying To Add is Already in The List
-
 How to3 years ago
How To Thaw Frozen Pipes Underground
-

 How to3 years ago
Solved: How to Change Your Age on TikTok? (2021)